Sight reading is a very important skill which is often neglected during piano lessons and while practicing because of time constraints. It’s way at the bottom of our list of priorities and the fact that it seems challenging and not “fun” doesn’t help matters. In my early years of teaching I also omitted this topic with students until I realized how deficient one’s music reading skills can remain even when playing advanced repertoire. I began to see clearly that a well-developed sight reading ability is indispensable for a pianist in order to play chamber music, accompany singers or choirs or even to play Christmas carols. Pianists just have to read lots more notes at once than any other “popular” instrument. Why is it then that so many students and amateurs can play quite well yet have no confidence when it comes to reading through a new piece?
The answer is simple: they never learned how to mentally approach and practice sight reading. Learning to process musical notation efficiently takes time and effort at first. It is very similar to learning how do drive: at first every step seems like a major event but after a month or two the cognitive/moving sequence becomes imbedded. With expert guidance and the right attitude sight reading ends up being extremely gratifying. I was initially very surprised when even my youngest students wanted to try more and more new examples and even agreed to dedicate several lessons in a row ONLY to practicing sight reading. When I saw the same reaction in literally 100% of them I began to understand the sense of accomplishment and empowerment successful sight reading brings.
For those of you willing to put enough time aside for this, I outlined some principles below and prepared a guided sight-reading sequence. The main idea which I will reiterate is: sight-reading is all about preparation before you
Before You Start Practicing
Looking at the music and noticing the key aspects of each piece is the most important aspect of any sight-reading exercise. With practice, the eyes and the brain will assimilate the “pre-playing” process and it will become very quick and automatic. Of course, playing through the example is a “test” and has to take place, but it’s secondary. Do explain to the student (or assure the perfectionist in yourself) that mistakes will absolutely happen but what we are primarily after is learning how to interpret notation. All of the steps below are the same whether you are teaching a student or are practicing yourself, but I will mostly refer to them in a teaching context.
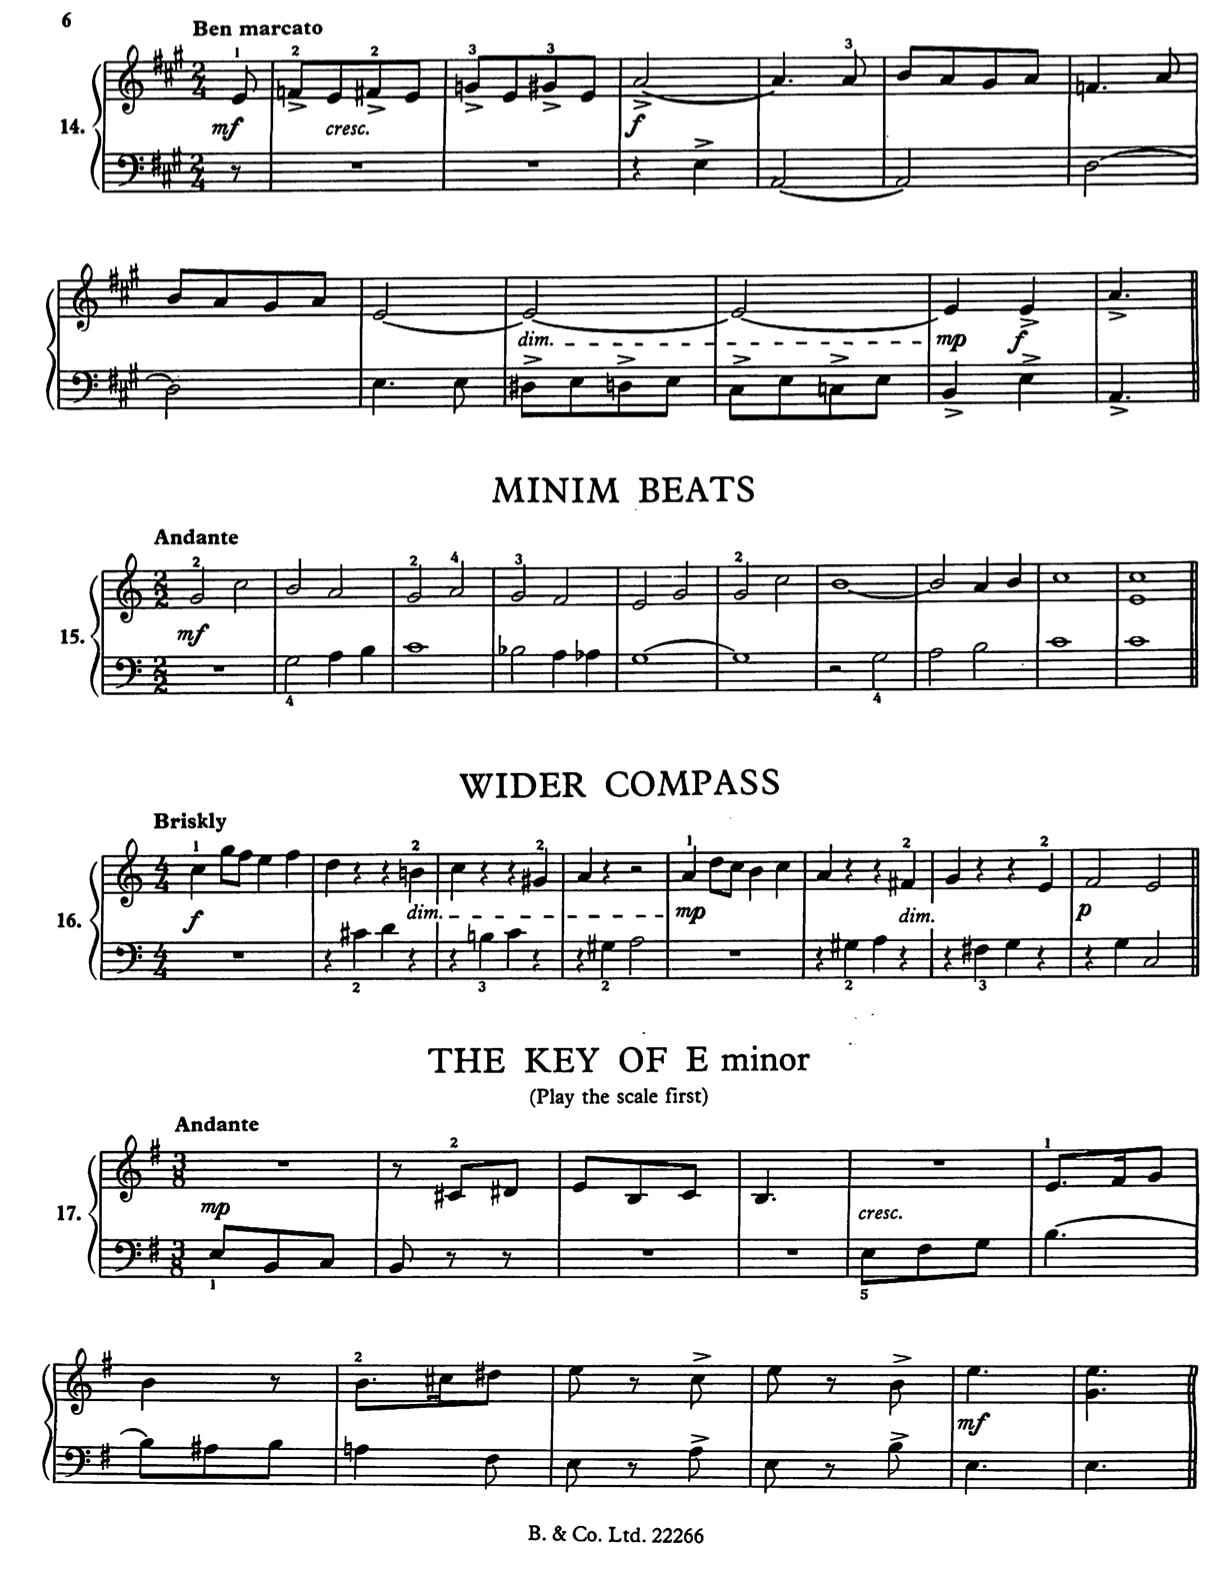
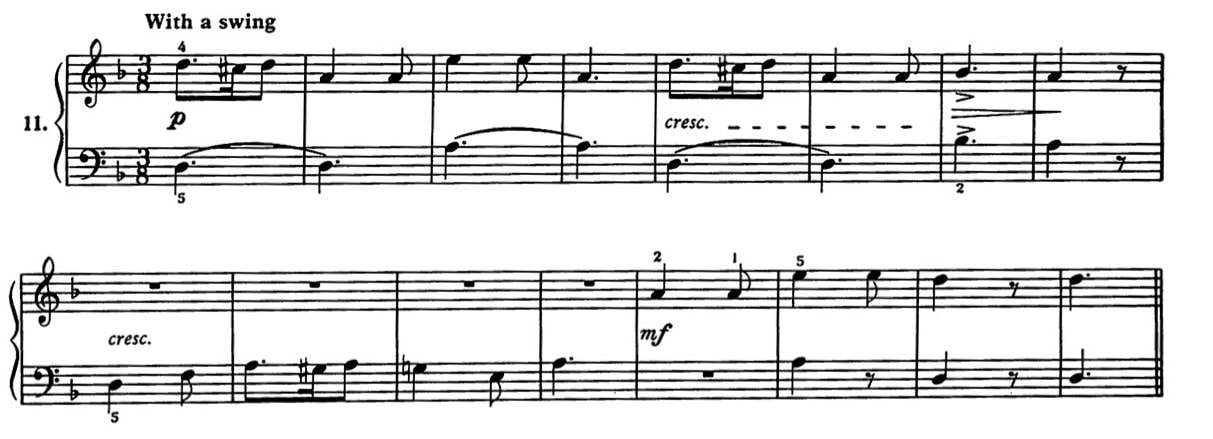
Ideally, you get only one attempt to play through the piece, like at an entry exam to a music school. However, to build the confidence of the beginner, it’s okay to play the example again during the first stages of sight reading development. Students will ask for that second chance and it goes a long way toward making them comfortable with this (initially daunting) process. I usually devote a series of 4-5 lessons to sight reading and give some examples to cover at home. All of my students end up really enjoying sight reading lessons because they get a distinct sense of accomplishment. It’s very important to start with the simplest pieces possible, no more than one line and take enough time with a variety of textures, time/ key signatures and rhythms before moving on to longer examples.
10 Steps for “Reading” Through the Example
Here is a list of things to look at before starting, in what I consider a preferable order. It will take a while at first to cover all of them. I start my students off by talking through every point below at the lesson as they tell me everything they see. It becomes a conversation, and puts them at ease. Reviewing proper terminology is an added bonus here. At first, this may take as long as 10-15 minutes per example so it’s important to let them know that it’s okay to take time.
- What is the key signature (if the key signatures aren’t memorized, keep a handy sheet with all of them), then is this a major or minor key? Look at the end for clues (bass tonic note or chord in most examples) and notice (or point out) the giveaway raised 7th step of harmonic minor, if applicable.
- Find accidentals throughout the entire example. Are there any measures where a note with an accidental repeats? The latter is a common oversight.
- What is the time signature? Students often take a long time internalizing the meaning of the bottom number. Figure out the counting syllables, including the “
ands ” in between beats. Dotted rhythms should be acknowledged. - What are the most common note lengths, rhythmic patterns, RESTS, TIES? Students often disregard the time values of rests and confuse ties with slurs.
- What are the clefs used? There can be unusual clef settings: RH starting in bass, vice versa, or a clef change at any point of the piece.
- Which hand has the melody, which has harmony? This will apply to most pieces. Do they switch at any point?
- Do the hands play together or separately? When do they play together? Often if a simple tune starts with only one hand a student is not prepared for the entrance of the other one.
- What are the fingerings and range of pitches on each hand? In the simplest examples there will be a specific 5-finger position. See if and when a hand has to change positions.
- Note the intervals: in simple pieces with one note at a time are the distances steps or skips? If skips, what are the intervals? If two or more notes at a time: what intervals or chords are there? This presumes knowledge of intervals and perhaps chords. If those concepts aren’t familiar, this is a good time to consider learning basic music theory.
- Rhythmic and melodic patterns: are there repeated figures/measures/sections large or small? Are there any melodic sequences (patterns repeating but starting from another pitch?)
Three Additional Steps for a Little Later
The following additional “challenges” are usually considered part of sight reading. In my personal experience and opinion, the above points are already a lot for beginners. As a student gets better, I usually point out articulation and other markings after they have played through the example. Please note: #3 is very important to ask.
- Legato/staccato, repeat signs, accents etc..
- Dynamics, other expressive marks.
- Are there any markings at all on the page that the student does not know/understand?
Two Rules to Be Repeated Right Before Starting to Play
- Start at a VERY slow tempo. Go back to the time signature and see what THE SHORTEST note value is. Use that duration as a tempo guide. ALWAYS COUNT OUT A MEASURE OR TWO TO SET THE SPEED BEFORE BEGINNING.
- Don’t correct mistakes. If you make one, move on and keep the rhythm going no matter what. This is one sight reading practice also applicable to performing.
Third Rule to Adopt When Things Begin to Feel Manageable
Look ahead –
Resources
There are numerous sight-reading books, websites